Two weeks ago, Dr. B (our resident early development specialist) did a post about how to tell when your child is ready for potty training. I determined that Mazzy’s got at least another year before I start spending all day, every day cleaning crap out of the tile grout in my bathroom. Other people felt it was time and asked if Dr. B could give a “how to potty train” seminar.
You asked, she answered. Today, Dr. B breaks down potty training into four easy-to-follow lessons. Lesson #1? Invest in Lysol.
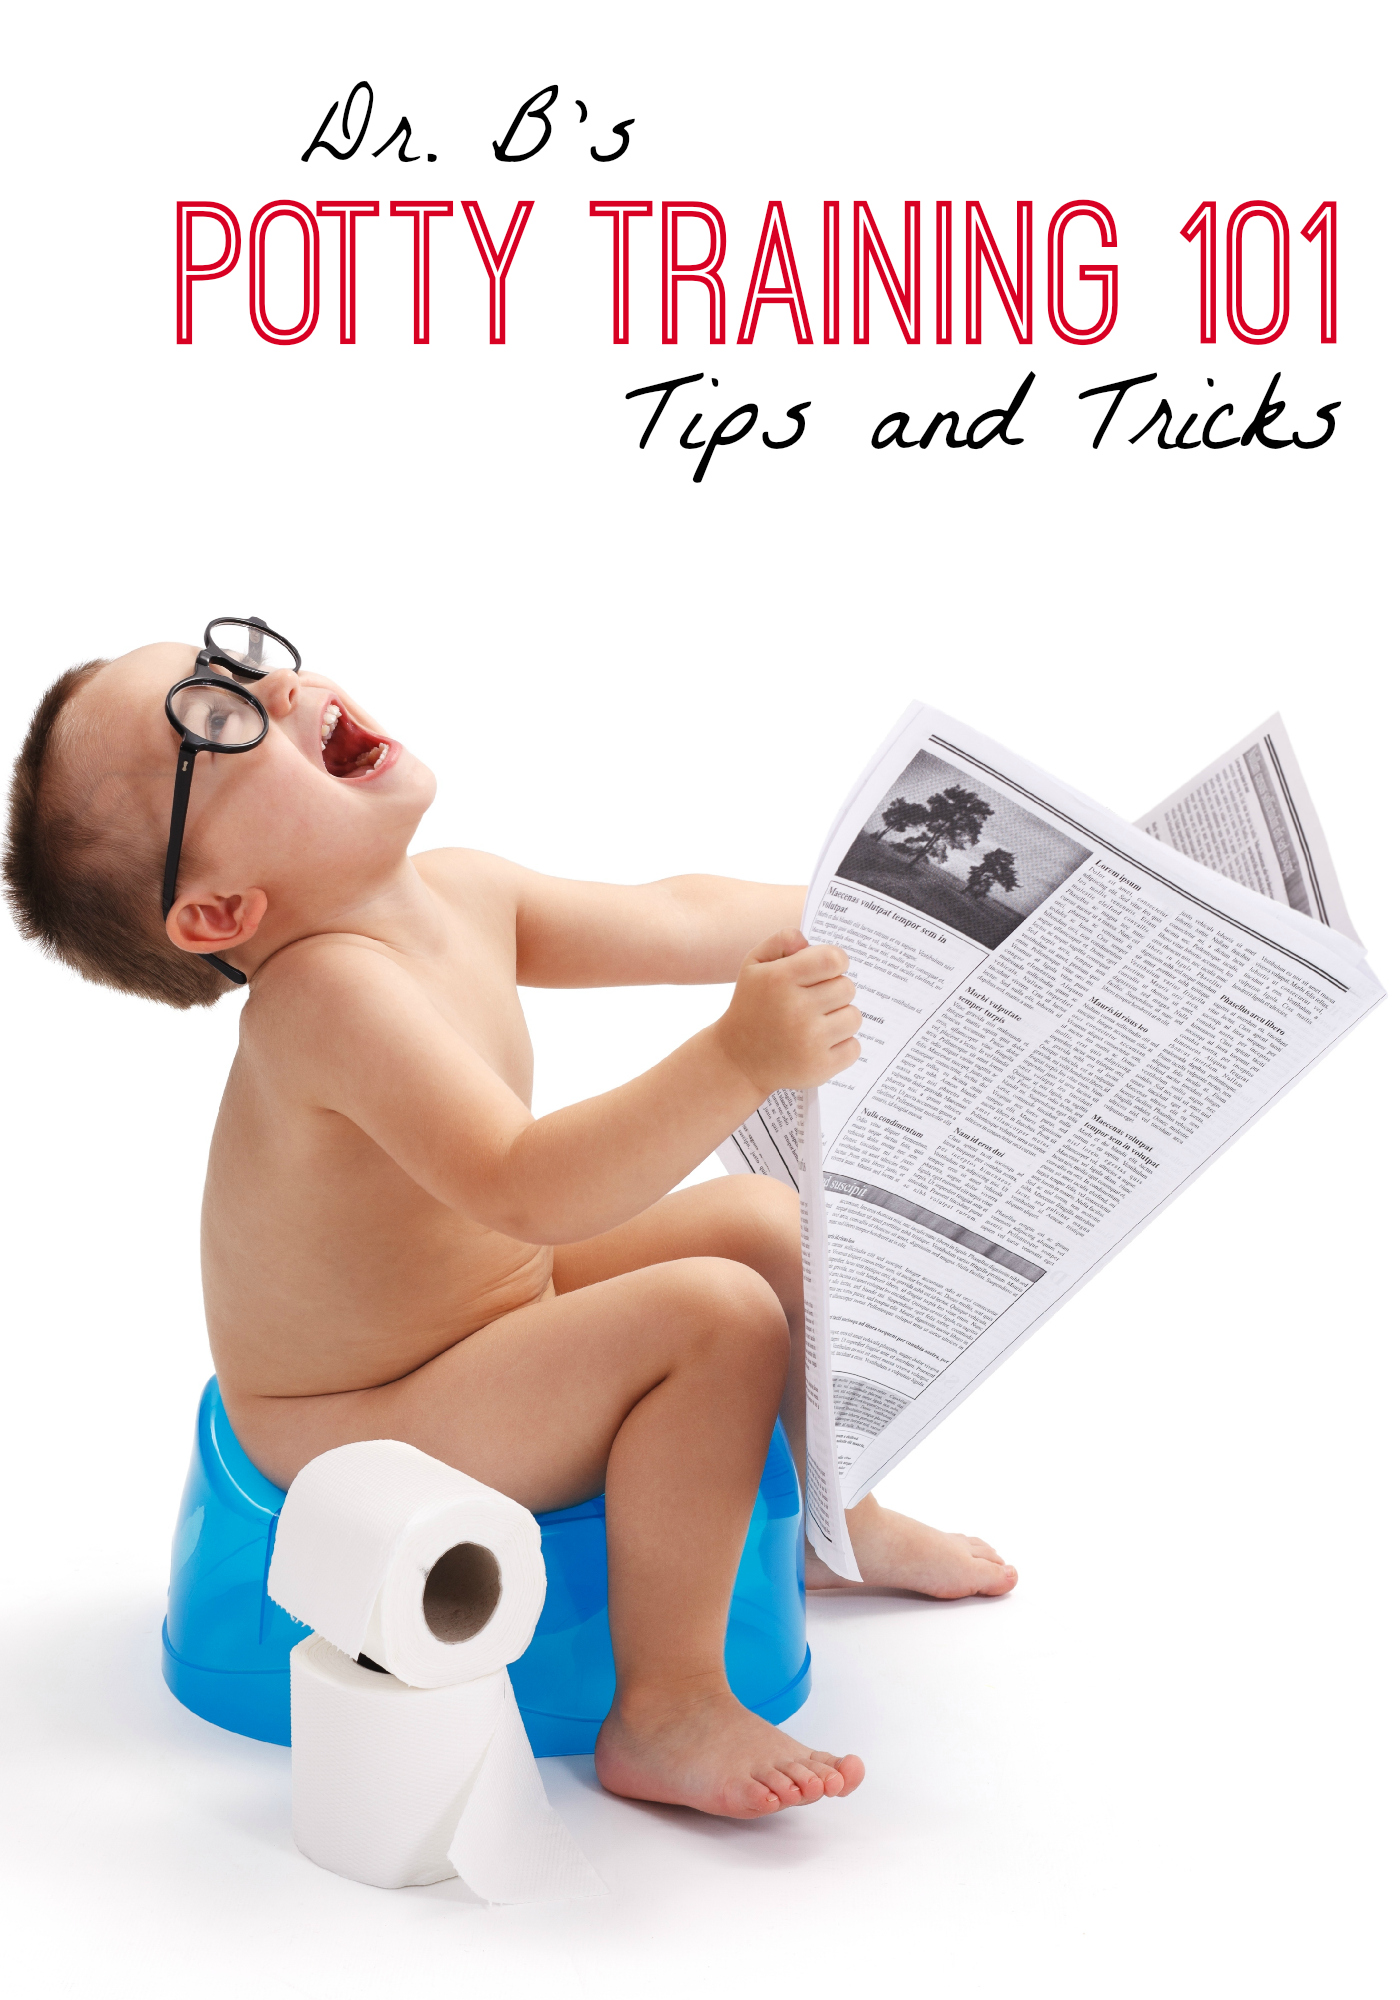
POTTY TRAINING 101
Potty training can be anxiety provoking for many parents, especially when everyone has an opinion on how and when to start. First, make sure your child is ready and then make sure YOU are ready to deal with messy accidents. Bathroom trips must become your #1 priority (even if it means finding the nearest restroom the second after you get onto the highway for a five hour road trip).
LESSON 1: BE PREPARED
Below are ten items recommended to help you in the potty training process.
1. A potty chair or toilet adaptor: to make the seat child-sized.
2. A step stool: Your child’s feet should be able to touch the floor or fully supported to assist with bowel movements.
3. Diapers with color changing strips: Helps you track your child’s regular toileting habits before you start training.
4. Training pants (e.g., pull-ups): Use when your child is first getting introduced to the potty. They are less absorbent than diapers which will increase your child’s discomfort when they are soiled as well as their motivation to use the toilet.
5. Easily removable clothing: Clothing should be quick and easy for your child to pull up and down independently (e.g., clothing with elastic waist bands or velcro).
6. Underwear: Try to find underwear with your child’s favorite cartoon characters.
7. Plastic cover for bed and protective barriers for other items such as car seats, couches, carpet, etc. to avoid getting damaged by accidents.
8. Good cleaning supplies (e.g., carpet cleaner and stain removers): You’ll find out soon enough.
9. Teaching items: Potty training books and dolls that pee can help you teach the steps.
10. Stickers: Use for extra motivation as well as to praise your child when they make a step foward in training.
LESSON 2: SET YOUR CHILD UP FOR SUCCESS
1. Switch to training pants and clothes that are quick and easy to pull up and down and let your child practice pulling down the training pants and sitting on the toilet.
2. Determine when your child typically goes. You can use diapers with color changing strips to help you. Children typically need to go 15 to 30 minutes after meals.
3. Motivate your child by going with them to buy the potty and “big boy/girl” underwear. Decorate the potty using stickers and let your child help you set it down in the bathroom.
4. Start training at a good time for your child and the family. Don’t start training if your family is going through any changes such as an upcoming trip, new baby, moving, or changes in childcare arrangements. Instead, hold off until you have more time to be committed to the process and there is more stability in your child’s schedule.
LESSON 3: SHOW YOUR CHILD THE BASICS
1. Teach your child how to a) recognize the feeling when they need to go; b) tell you when they need to go; c) pull pants up and down; d) sit on the potty; e) wipe properly; f) throw away or flush the toilet paper, and g) wash hands.
2. Teach boys to sit on the toilet first. When toilet training is established, you can begin working on standing to pee which will take some target practice.
3. Let your child watch you go to the bathroom and verbalize the steps as you go.
4. Use books and dolls that pee as teaching tools and post pictures of the steps in the bathroom.
5. Help your child recognize the signs that he/she needs to go by catching your child’s signals (e.g., red face, squatting, or vocalizations) and then saying, “go potty” to help your child make the connection.
LESSON 4: LET THE FORMAL TRAINING BEGIN
1. Take your child to the potty at predictable times: Use your child’s natural tendency to go to create a training schedule and toileting routine. If your child’s times are inconsistent, you can also sit them on the toilet every 30 to 45 minutes and then do dry pants checks at 15 minute intervals.
2. Sit and wait: Tell your child to sit on the toilet for a few minutes and try to go. Don’t make them sit longer than a few minutes which can result in power struggles and resistance to use the toilet. Don’t force your child to go, but don’t ask him/her either. When you ask, it implies that your child has a choice and their answer will probably be “no.” Instead say, “It is time to go potty.”
3. Make the process fun: Use encouragement and praise to reward your child’s efforts without putting too much pressure on them to perform. If your child is easily discouraged or responds well to stickers or rewards, create a sticker chart and have them place small stickers on the chart each time they try and big stickers each time they try and successfully go.
4. Switch from diapers to underwear: Make the switch when your child is able to stay dry, is able to correctly tell you before he/she has to go, and is able to use the toilet independently for at least a few days. Starting earlier may result in more frustration and accidents. Once you put your child in underwear at home, stick with it and don’t send mixed messages by putting on diapers for your own convenience when you leave the house.
5. Nighttime training: Start with underwear during the day before using underwear at night. When training is completely established during the day, you can begin nighttime training. Use a plastic covering on the mattress for easier clean up and protection. Teach your child what to do if they have to go at night or have an accident during the night.
6. Responding to accidents: Accidents are inevitable part of the process. Remain calm and don’t get angry. Review the steps with your child if you think it will help and do not punish them or show disappointment. Instead, tell your child it was an accident and remind them of the progress they have made toward going to the potty like a big kid. Also, remember to always carry an extra change of clothes when you leave the house.
7. Be consistent across settings: If you are training your child at home, make sure the same approach is being used in child care.
Finally, if the process is not going smoothly and your child is resisting training, he/she may not be emotionally or behaviorally ready. Pushing a child who does not want to be trained can make the situation worse, delay training, and lead to other toileting and behavioral problems. Instead, relax and break this negative cycle by postponing training and returning to it at a later date.
Best of luck!
— Dr. B
Dr. B has a PHD in school psychology and specializes in early development. If you have a question for Dr. B, please email me at myshort@mommyshorts.com.


We started potty training her last month but then my daughter decided to take a break. Waiting for the break to be done with so we can resume. Thanks for the tips Dr. B.
For us, it was a matter of letting both kids tell us when they were ready. I tried many tactics mentioned above with my first and quickly realized it was on her own time. Saved me a lot of agony the second time with my son, who at age 2-1/2 trained himself in 24 hours.
Thank you for this! Wee ‘Burb is totally not ready for potty training, but we’re introducing the concept. She has a potty and a book.
okay so I’ve determined mine is not ready yet, but he is interested. However, he is a boy, and he has determined that he will not SIT on the potty (because he sees brother and dad stand). This includes not SITTING when he says he has to go Poo Poo.
This is why I am not potty training him.
My son is potty trained during the day and whenever we are about to leave I make him sit on the potty. My problem is if we visit multiple locations while running errands, he claims he has to potty at each location even when he just went and I’m positive he doesn’t have to go. How should I handle this? I don’t want to discipline him and end up discouraging his use of the potty since it took a lot to get to this point but I also don’t want to visit public restrooms for sport or cut my trip short when he cries wolf.
Have you read the book “Diaper Free Before Three” by pediatrician Jill Lekovic? It’s a great book that details the history of potty-training. Basically, until the 1970s when disposables became ubiquitous, children were potty-trained much earlier as parents were motivated to get their kids out of cloth diapers. The book details how the readiness theory (i.e. wait until your kid expresses interest in potty-training) has long been discredited in medical research; and states that children are ready to be potty-trained before they are able to verbally communicate that readiness. Dr. Lekovic encourages parents to start sensitizing their child to the potty when they’re able to sit up well and doing more intense training after their first birthday. While disposables make kids more portable, perhaps sacrificing some of our freedom to bustle about and instead staying home during the potty-training months would allow them to develop at a pace that is more in-tune with their bodies and is less stressful for all parties involved. http://www.amazon.com/Diaper-Free-Before-Healthier-Toilet-Diapers/dp/0307237095
We used the online guide 3 day potting training (or something like that.. Lora Jensen?). It was awesome. We never used Pull-Ups during the day (not even for naps, just bedtime), and our son was trained in 3-4 days. I think there are some great ideas here, but I don’t like the idea of “telling” your child when they have to go – ie 15 min after meals (except before you walk out the door). We only took him when he started to go in his undies or was holding his penis doing a dance.
It’s been a while since I’ve potty trained (oldest is 11) and so far my 2 year old doesn’t show enough interest in it. I’m hoping he starts soon so that we can get a move on with this training. Thanks for the tips!
I always advocate a Tammany Hall approach to potty training: Early and Often. Bottom line: kids take their cues from their parents, but they’re much more wiling to do so when you’re still the center of their universe and they haven’t yet realized they can confuse, confound, and shake you by refusing to go along w/the program. We always started by putting the potty in the bathroom directly facing the toilet, bringing our girls in and setting them up on the potty when we ourselves went, beginning @18 mos. Started ramping up the actual training @20 mos, but the other kicker is that you, the parent, have to be determined to make it happen: like wolves, kids can smell weakness or indecision and will determine they don’t really have to do this. For me the fact that a 2 yr-old’s crap is the size of an adult’s was motivation enough.
My mom’s story about me is that she couldn’t potty train me to the point of almost not letting me go to nursery school. I begged and begged and begged to go and my mom agreed but said that I wasn’t allowed to wear a diaper there. So I went to school, used the bathroom and was potty trained from that day foward.
Thank god I don’t have a boy. I would have no idea what to do with him.
Sit tight. I’m referring this one back to Dr. B.
I think the “telling” thing was more of a way to help a child understand that going to the bathroom is not optional. It happens on a regular schedule.
I hadn’t heard of Lora Jensen but I’ll look into it. That’s awesome that you trained your kid in 3-4 days. Don’t you love it when things are way easier than you expect?
I totally agree about kids smelling weakness. One thing I’ve learned about myself is that I’m a tough parent. I just succeeded in taking the pacifier away in less than a day. I thought it was going to be impossible but I was consistent and by nighttime, she didn’t even ask for it. Color me SHOCKED.
This is a common behavior at the beginning of training and will get better with time.
I recommend acknowledging his request by saying, “You have to go potty” instead of trying to convince him that he doesn’t really have to go. Then tell him when he will be able to use the bathroom next (We have two more stores and then we’ll find a bathroom).
If he holds it until then, praise him for holding it. At the beginning of training, kids don’t understand the concept of holding but do want to please us by using the toilet and avoiding accidents.
Trips to the bathroom can also be more fun than errands so making the errands seem more exciting might help too.
We tried all of these methods first and nothing seemed to work. Just a lot of accidents and her never fully understanding where she needed to go for potty. So then we decided to devote a whole weekend to our daughter and basically had her sit on the potty all day in front of the TV while she watched movies and we watched what came out. Every time she “went” we praised her and after 3 days of this she totally got it! She went straight to the potty in the bathroom every time after this. In the end 3 days didn’t seem so bad.
I live this easy to follow and concise advice, and have already implemented much if it – almost against my will! I don’t know if my 2 year old is truly ready, but we’ve been priming her with books and such since she was 18 months. Recently she started with taking off her own soiled diapers, telling us when she needed a change, etc. Now for the last week she refuses to wear diapers or pants. She hates accidents – she’s always been a clean kid – but instead of using the potty when I put her on there every hour she will just hold it until she is in a diaper at nap time. Or has a poopsplosion in her diaper when we put her down for bed at night. She will randomly tell us if she has to go potty, or sit on the potty chair and go pee halfway, sometimes (not often) she will release the rest if the deluge on the floor. I don’t want her to get a UTI holding it all day, I’d rather just keep her in daipers, but she just takes them right off! Even when I don’t press the issue (I want to avoid power struggles) and offer incentives, it changes nothing. She doesn’t have accidents often. I’m just worried about the holding it all in! Right now I’m just rolling with it, but I wish this foray into potty training were more structured!